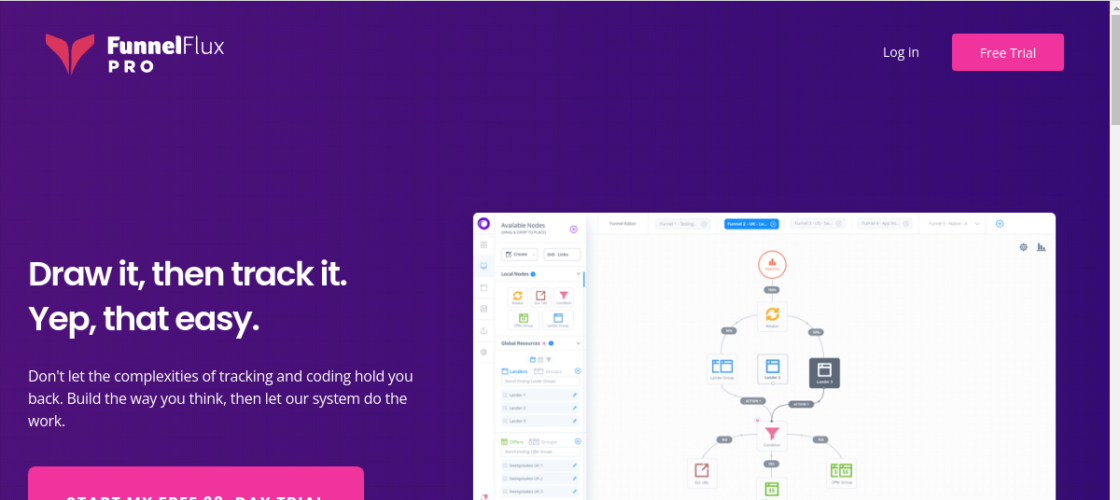
- Create simple and complex funnels by merely drawing your ideas out.
- Track user's interactions and sales
- Monitor and follow the journeys of your campaign visitors or users
- Keep an eye on the real-time progress of your ad campaigns.
Funnelflux Pro – Your Perfect Visual Marketing Tracker
Putting ad campaigns in place is not all it takes to increase sales conversions and your ROI. It is vital to keep an eye on every metric and every interaction, but this often includes in-depth knowledge of marketing tracking and even a little bit of coding.
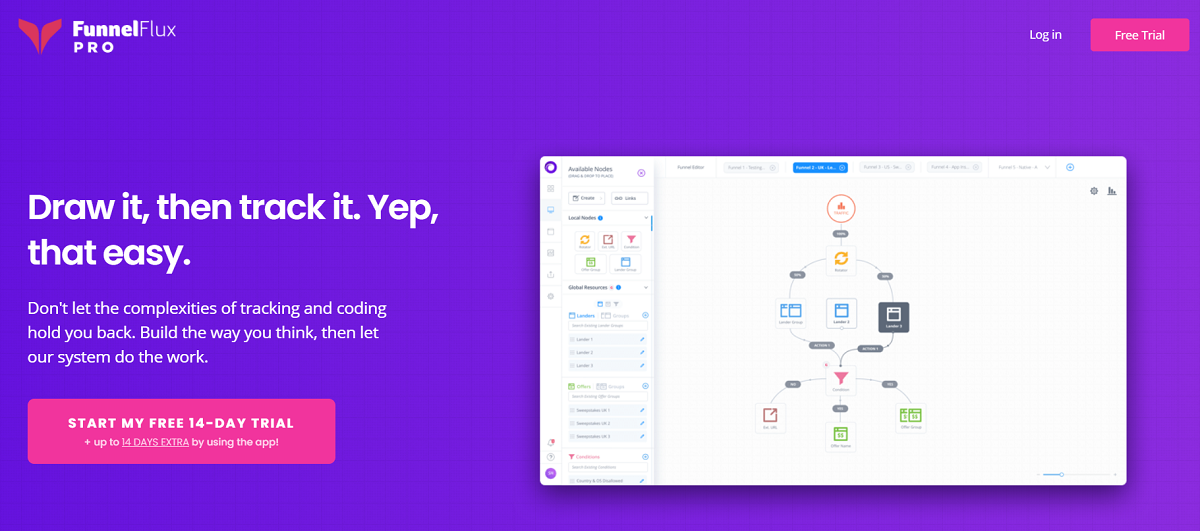
With FunnelFlux Pro , you do not need to be a wizard at coding or with tracking complexities. All you need is to visualize your needs and let FunnelFlux Pro do all the heavy lifting to identify which traffic sources are most profitable in interaction and sales.
How Does Funnelflux Pro Work?
FunnelFlux is a platform built to track your marketing campaigns on any other medium you can think of. Be it Facebook, Google Adwords, Taboola, Shopify, or even email activities, FunnelFlux has you covered.
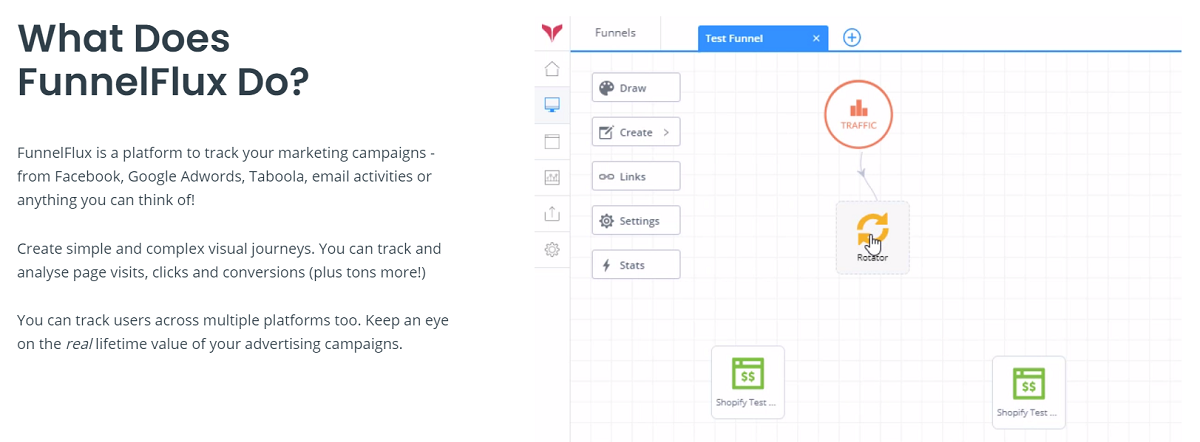
It allows you to create simple and complex visual journeys to help you track and assess page visits, clicks, and conversions made. You can also analyze other Interaction metrics with your marketing campaigns.
What Are the Features of Funnelflux Pro?
To help you keep a keen eye on your marketing campaigns’ growth and performance across any and every platform, FunnelFlux is packed full of the most impressive features, which you can access with our FunnelFlux Pro discount code. They include:
- Visual Funnel builder: One of the most impressive as its visual funnel builder. This feature allows you to build funnels to track your campaigns using visual aids. All you have to do is draw it and follow. It is that easy.
- Visitor Journey Insights: With the journey insights feature, you can intuitively follow your users or visitors’ paths and assess the ROI for every step of their journey.
- Lightning Fast Redirects: FunnelFlux Pro is not the best for no reason. It offers you insanely fast redirects with the best public latency data provided to you on a platter of gold.
- Unhindered Reporting Systems: Again, FunnelFlux Pro blindsides you with peak efficiency. The platform offers you reporting that allows you to group by almost any metric, be it by level or country. The possibilities are endless.
- Javascript Tracking and API: FunnelFlux Pro’s Javascript tracking does all the cookie-free watching and redirect-fee tracking. The API also allows you to do this directly without passing the device model or ISP in your URLs.
What Are the Benefits of Funnelflux Pro?
FunnelFlux Pro has plenty of benefits to offer you, and it does so with no hesitations. These benefits include:
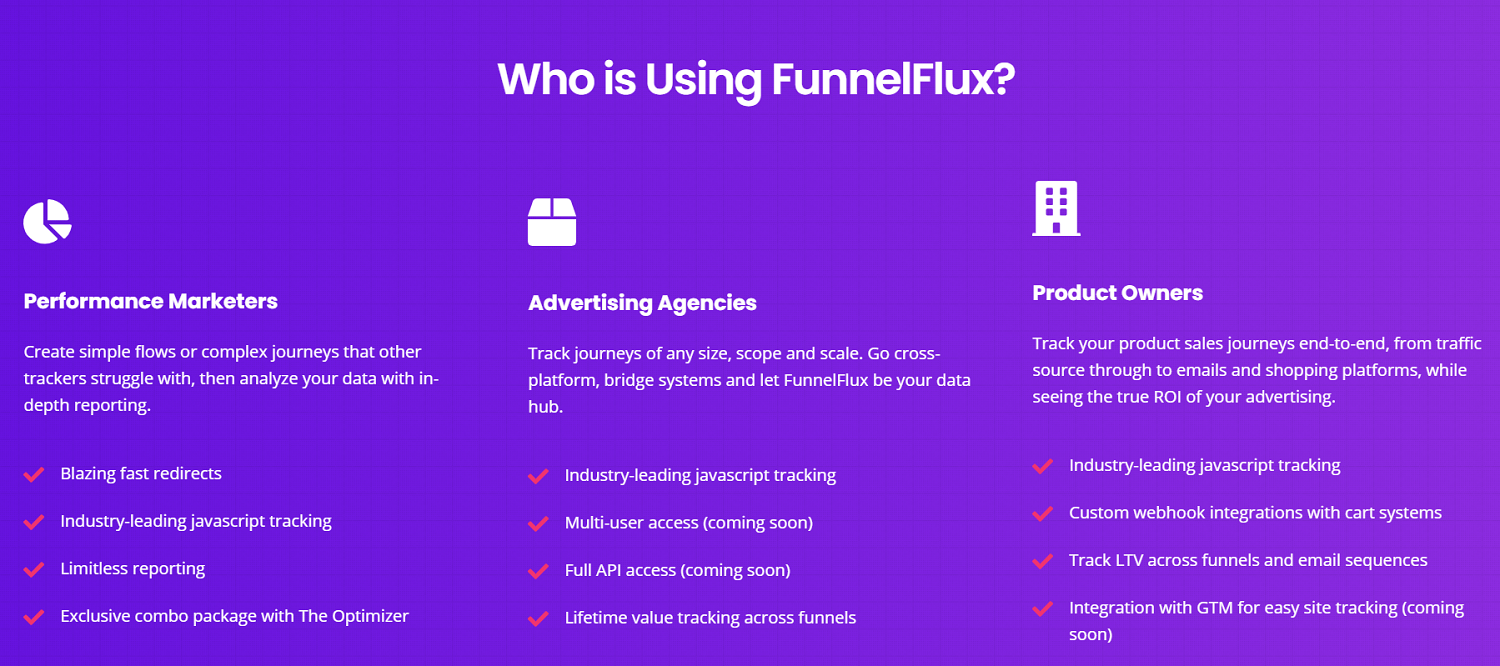
- Robust Integration systems: The platform gives you the most powerful and flexible methods of any tracker across multiple platforms.
- Beautiful and easy-to-use interface: FunnelFlux Pro does not need you to be a wiz at anything. The interface is straightforward and responsive and lets you do exactly what you need to do.
- Powerful tracking: With our FunnelFlux Pro deal, you witness firsthand the seamless lifetime value tracking FunnelFlux Pro offers you. You also get to track without cookies.
- Blazing fast statistics at your fingertips: You can access every statistic and metric in no time and with no glitches.
- Endless custom domains: You get an unlimited supply of custom domains at your beck and call.
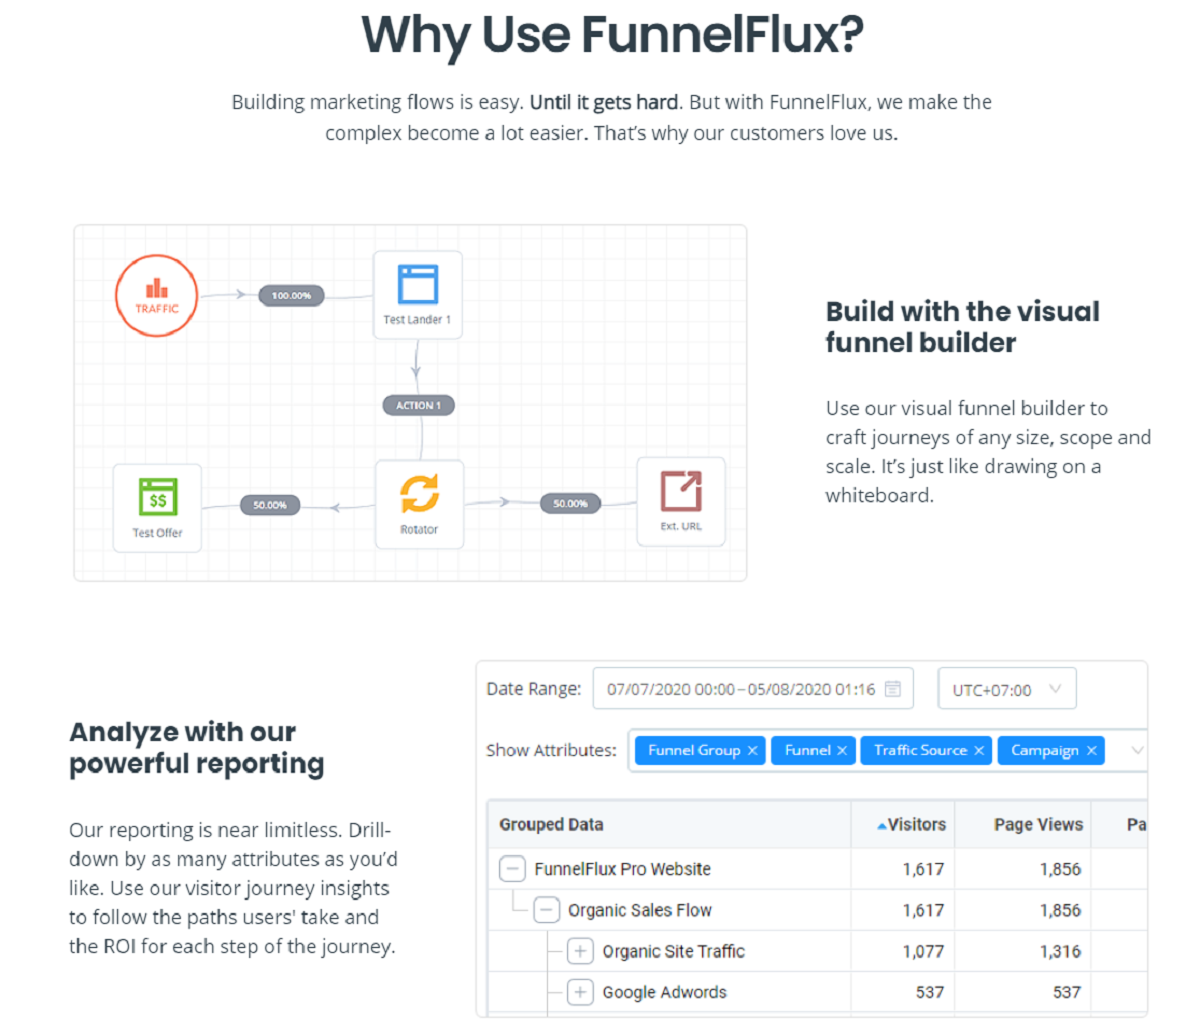
- Overall Solution Summary: FunnelFlux Pro is an ad tracking platform that helps you monitor your market campaigns by creating visual journeys to track and analyze your campaign’s progress.
How to Use Funnelflux Pro:
Step 1: Open your account wizard page after taking advantage of our irresistible FunnelFlux Pro discount coupon. Choose the kind of traffic or the traffic source account you want.
Step 2: Select “Add New” to begin connecting your FunnelFlux Pro account.
Step 3: You will see the pop-up integration screen. Select FunnelFlux Pro after clicking on the Select Tracking Platform drop-down menu.
Step 4: Next, start filling in the required information.
Step 5: Click save and next.
Step 6: decide which traffic source configurations belong to the traffic source account you selected in the first step.




 We respect your privacy & information.