- Supports great sites with high mobile user traffic
- Helps improve and maintain ranking
- Enables the creation of ads and websites that are fast, high-performing, and beautiful.
- Reduces operating and development costs
AMP for WP – The Easy Way To Make Web Access Better For All
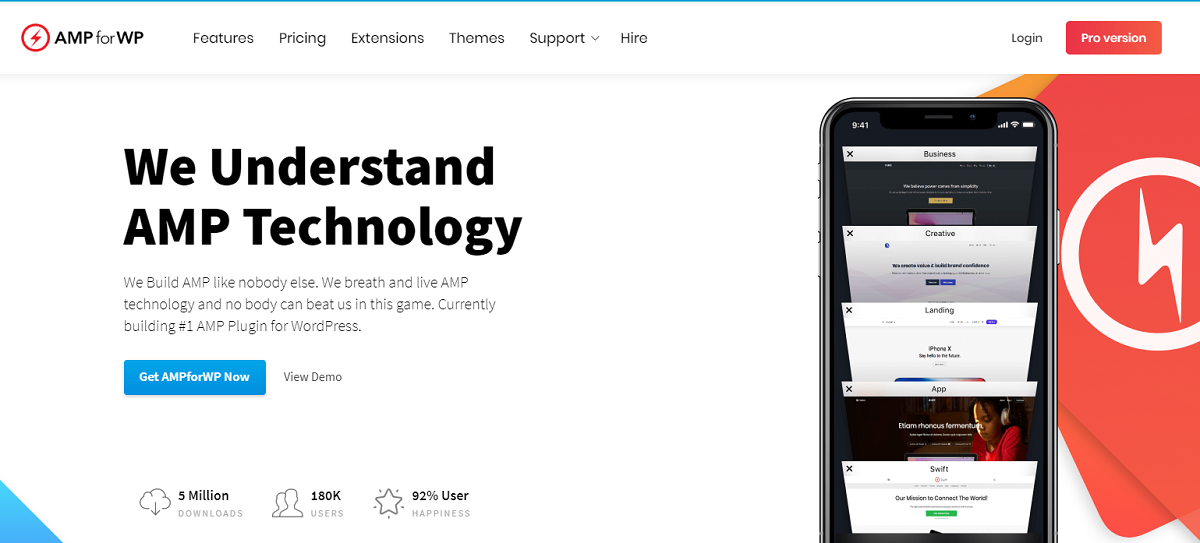
AMP (Accelerated Mobile Pages) for WP (WordPress) project is an open-source technology supported by companies like Twitter and Google. The goal of the AMP for WP project is to help speed up access to the website and make contents load faster for mobile audiences. It will help increase your website traffic, improve, and maintain your ranking on SEO platforms.

To introduce AMP, we have highlighted how the plugin works, benefits, features, and how to use it.
How Does AMP for WP Works?
AMP (Accelerated Mobile Pages) works by using limited JavaScript and minimal HTML. It hosts contents on Google AMP Cache. Google serves the cached version to mobile users when they click on your website link.

AMP helps improve mobile user experience and deal with the frustration of slow internet connections. It offers a web experience that is fast, beautiful, and high-performance across platforms. If a majority of your website traffic comes from mobile users, then AMP is for you. Google pushes and supports AMP web pages by giving the pages a boost in mobile search.
What Are The Features Of AMP for WP?
AMP, as an open-source plugin for WordPress, fully supports integrated AMP publishing, step by step publisher control, and many other excellent capabilities. Here are some of the features provided by the plugin;

AMP First Experience. AMP for WordPress allows you to enjoy the full AMP experience such as AMP caches, and other built-in components without having to give up the flexibility of your site. For example, AMP HTML is the traditional HTML version with some restrictions for reliable performance.
AMP Stories. This feature lets you create, edit, and publish stories in WordPress. It enables you to leverage the power of storytelling, doing it the WordPress way. You will be able to create engaging animation, visual, and interactive narratives easily. AMP stories offer the opportunity to engage your readers with a full-screen and fast-loading visual experience.
Different Template Mode. AMP plugin has three different template modes, namely: Standard, Reader, and Traditional. The standard model uses AMP for the framework of your site. Traditional modes allow you to have a canonical URL and a paired AMP URL. The plugin serves visitors from platforms like Twitter, Google, Pinterest, etc. The reader mode supports AMP for lone posts and other types of posts.

These features are enough reasons to choose AMP for WP; however, the benefits do not just end there. Here are other benefits you get to enjoy when you select the plugin.
What Are The Benefits Of AMP for WP?
We offer AMP for WP discount codes and coupons when you choose this plugin. You get some percentage off the pricing plan of building AMP plugin for WordPress. Other benefits include:
- You can use AMP plugin on any web viewer, browser, and any app.
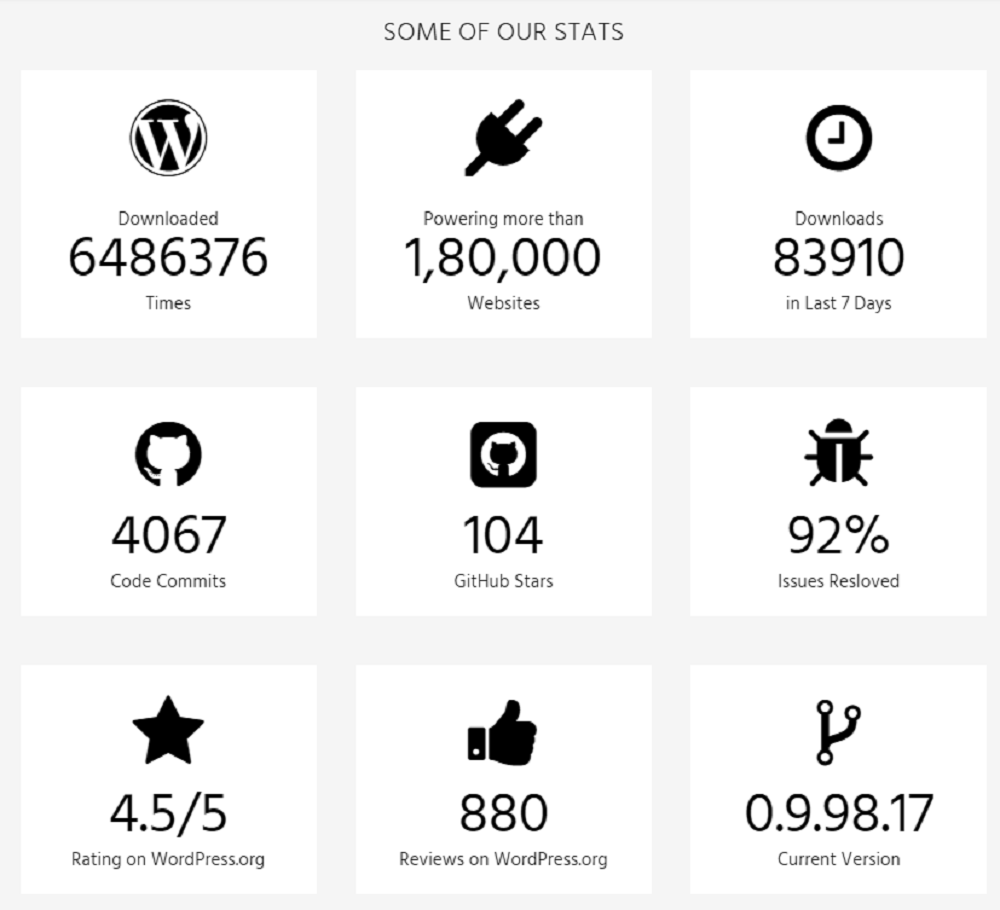
- The company serves over 140 countries of over 120 thousand users. Therefore, there is a community of users with which you can interact and get updated.
- The company takes the client’s products seriously. They provide excellent solutions to product-related problems in an attempt to make the lives of their clients and audience better.
- It helps you save more on Themes, Extensions, Sites, especially with the AMP discount deals.
Now that you know the plugin has many benefits guess you are eager to begin using it. No problem, we’ll show you how.
How To Use AMP for WP:
With the easy to follow guides and these simple steps, you can set up your AMP in WP.
Step 1: Install and activate the AMP plugins, e.g., Yoast SEO
Step 2: Setup Google Analytics: Go to AMP > Analytics then paste your tracking ID
Step 3: Configure plugin settings: go to Yoast SEO > AMP >Post Types
Step 4: Test the AMP setup
Step 5: Submit URL for indexation
Step 6: Check Google-Search Console to troubleshoot errors
Step 7: Test Page Speed


 We respect your privacy & information.