- Increases your click rates with eye-catching notification designs.
- Geo-analytical feature, you can create geo-specific push notifications
- Re-engage your customers on their last actions using PushEngage trigger notifications
- Multi-user support
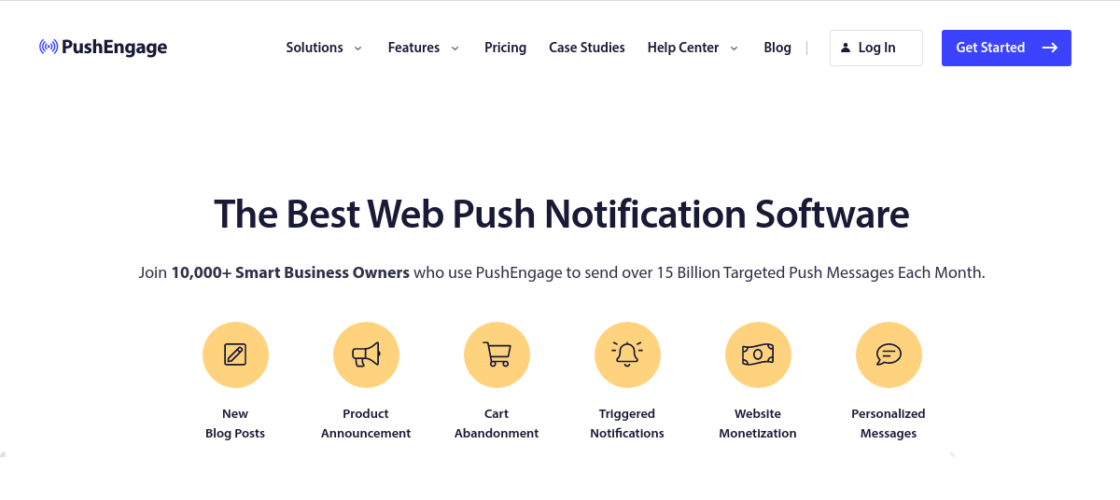
PUSHENGAGE- Your Push Notification Marketing Software
If you are in search of a web and mobile-based push notification marketing tool to get your brand across to your customers and prospects, while eliminating the costs of text messages, restrictions of pop-ups to online visitors only and the low open-rates of received emails, then your search ends with PushEngage.
PushEngage enables you to offer your customers the best experience with your business via unique content notifications and advanced schedulings that identifies your brand, increase engagements, your conversions, and retention rate.
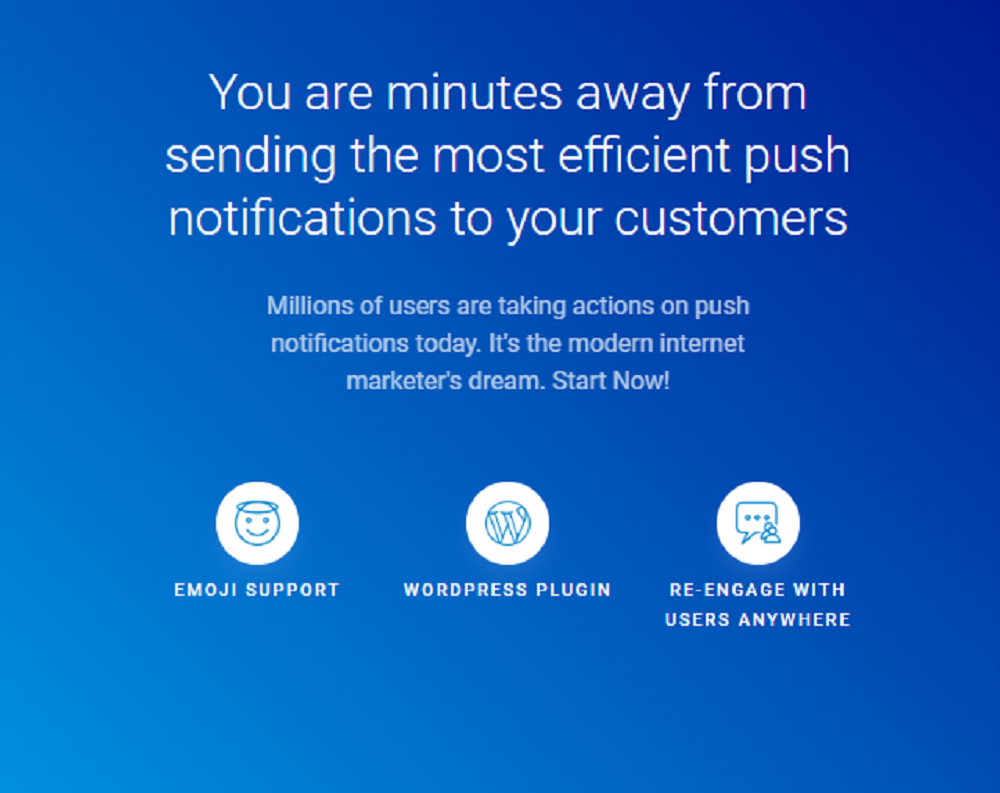
But how would PushEngage get your business out there and make it unforgettable?.
How Does PushEngage Work?
Your customers and prospects are segmented on factors such as their geographical locations, device type, URL browsing history on your website, etc.
Automated personalized notifications are sent out in forms of short-word updates which boosts your click rate, readership, and subscription. You can re-engage your customers on their last actions (cart abandonment, wishlist) using PushEngage trigger notifications.
While other push notification software mandate you to own a mobile app, PushEngage optimizes your reach to your existing customers and new prospects on both web and mobile versions of trending browsers such as Firefox, Edge, Safari, and Chrome amongst others. This increases the growth rate of your subscriber list and business.
What’s more exciting is that PushEngage encourages you to grow your business across niches by cross-promoting your new products to customers with similarly purchased products.
Your concerns on cost are cleared when you exploit our PushEngage discount codes on their paid plans. You can also opt for a 15-day free trial on paid plans or upgrade from the free plan at any time.
What Are The Features Of PushEngage?
Dynamic Segmentation: Segmentation of your customers enable them to get updates on their interests. Segmentation can be automated based on customers’ activities such as clicks, downloads, purchases, etc.
You can then set up defined rules for automatic segmentation and even alter segments or switch customers within segments. You can also send notifications to selected segments based on their geo-location, device/browser type, time zone, date-based filter and more.
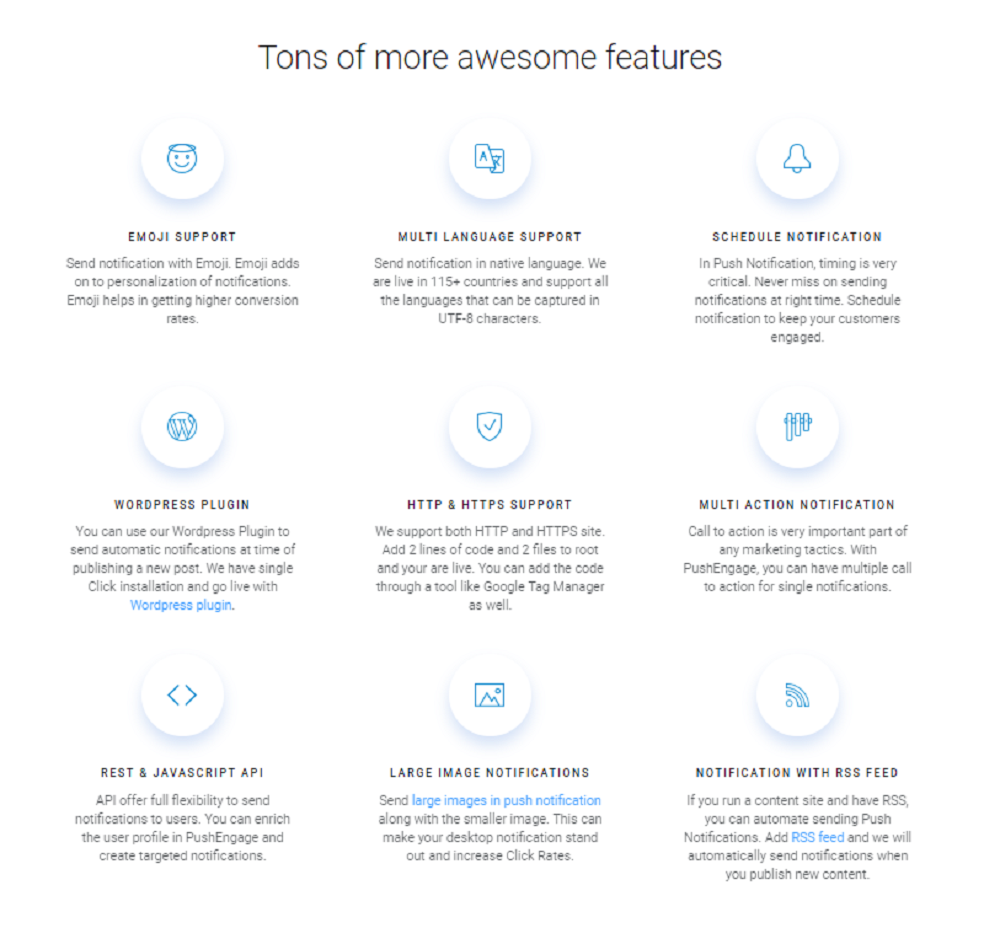
Multi-lingual support.
Advanced scheduling.
World-class analytics: You can analyze your notification opt-ins, the subscription rates and determine performances (click rates). With the geo-analytical feature, you can create geo-specific push notifications. The dashboard analytics gives you full support on your business.
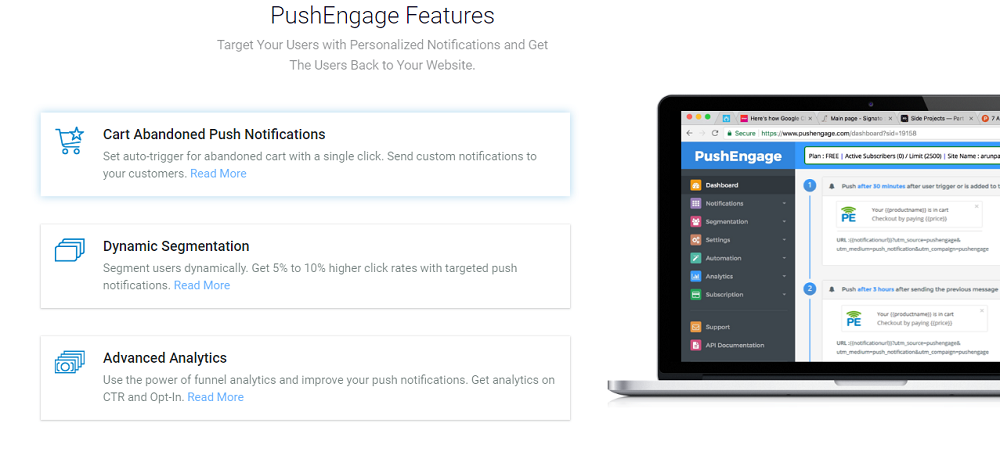
Trigger notification: Sets and launch multiple trigger campaigns within minutes, determine the number of notifications a subscriber gets in a day and analyze your campaign trigger performance.
Automatic responder.
Multi-site/multi-user support.
What Are The Benefits Of PushEngage?
- PushEngage increases your click rates with eye-catching notification designs.
- Helps send out alerts at an increased speed.
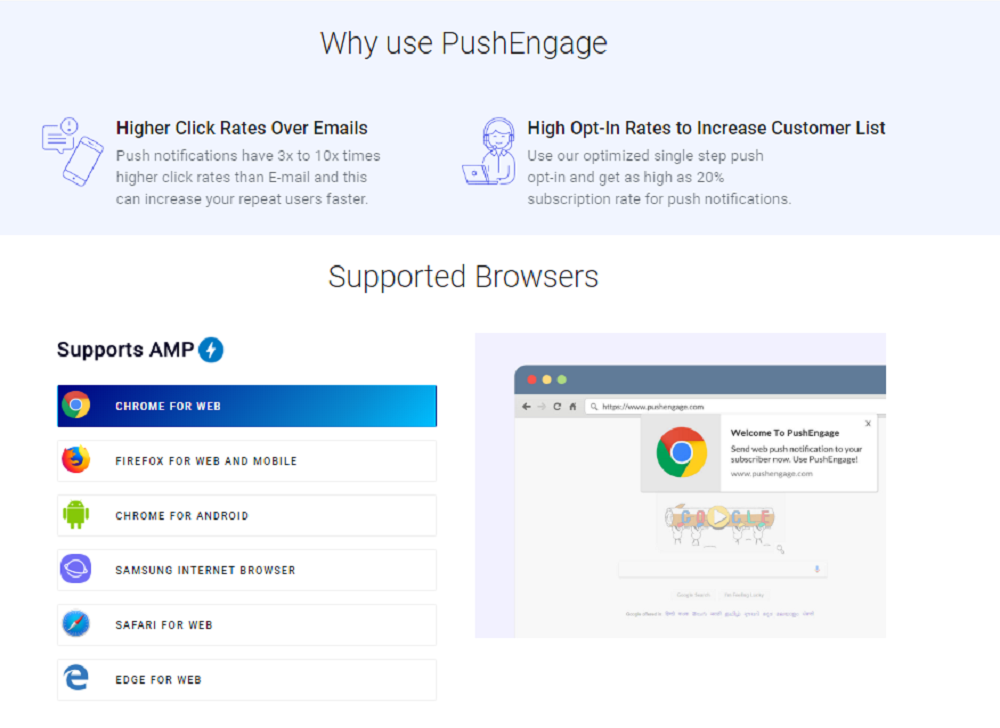
- Saves you of any cost with its nominal fees on paid plans, as compared to other similar services, with an offer of 5,000 to unlimited subscribers across its paid plans.
- Give out your latest deals/discounts in real time.
- 24/7 fast support.
- Improves your customer-relationship, using the re-engagement platform. Send out notifications on updates, promos, and new products.
- Keep all visitors engaged, including those not yet subscribed to your business brand.
How To Use PushEngage:
Step 1: Create a PushEngage account. Remember the free trial versions are available, as well as our PushEngage discount coupons on paid plans to save cost.
For WordPress websites and blogs (Check PushEngage installation guide for other platforms):
Step 2: Search for PushEngage plugin on your WordPress dashboard.
Step 3: Activate plugin.
Step 4: Login to your PushEngage account to get/generate your API key.
Step 5: Copy and paste the key into your WordPress login section. Installation is complete.
Step 6: Configure the plugin for your WordPress website by setting your auto push, post types, custom images and opt-in.



 We respect your privacy & information.